Follow these steps to Create Google Pay Account
In this entire blog find out a simple and clear way to create or set up a Google Pay account. Google Pay is an Online Payment app. You can use Google Pay to send or receive money, pay utility bills, and recharge your prepaid number with your mobile phone using a QR code or UPI. Now let’s have a look at the entire process below.
To create a Google pay account you need to first download the Google pay app on your device and you need to have the following:
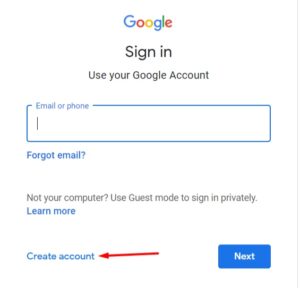
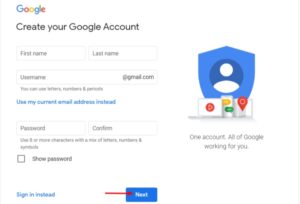
1. A Google Account
To access Google products you need to create a Google account. If you don’t have one, create a Gmail account first.
2. Any Indian Bank Account which is linked to UPI through this app:
You need an active Indian bank account in your name to set up Google Pay account which will be linked to UPI through this app. It’s important that your bank works with UPI otherwise you’ll not be able to create Google Pay account. You should also have a debit card for the bank account you are using to create the Google Pay account.
3. A mobile number that you will use to register on Google pay, but make sure that the same number should be registered to your bank account:
You need an active Indian (+91) phone number that you have registered with your bank account linked with UPI. Make sure that outgoing SMS services are enabled with your mobile number. Some recharge packs do not have outgoing services enabled. If in doubt, check it once before you proceed.
How to create or set up your Google Pay Account?
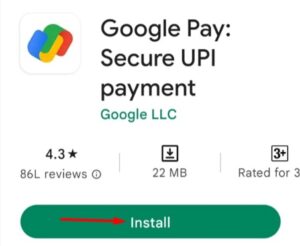
Step 1: Download Google Pay Application
Download Google Pay on your mobile phone. Use Android 5.0 (Lollipop) or higher version or for iPhone use iOS 10.0 or higher version. If already downloaded, make sure the app is updated. You should use the latest version of the app for functionality & security purposes.
Step 2: Enter Your Phone Number
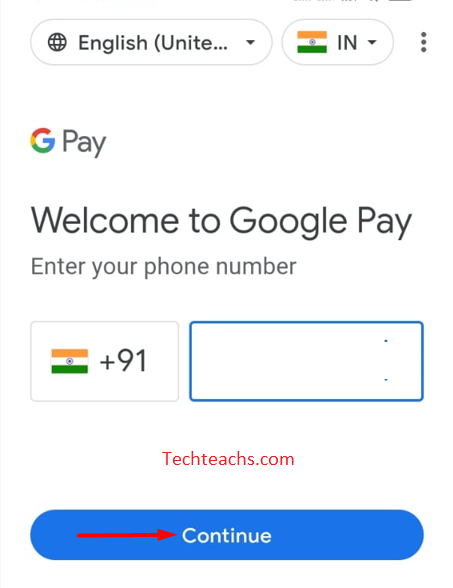
Enter your active Indian (+91) phone number that you have registered with your bank account. Then tap Next.
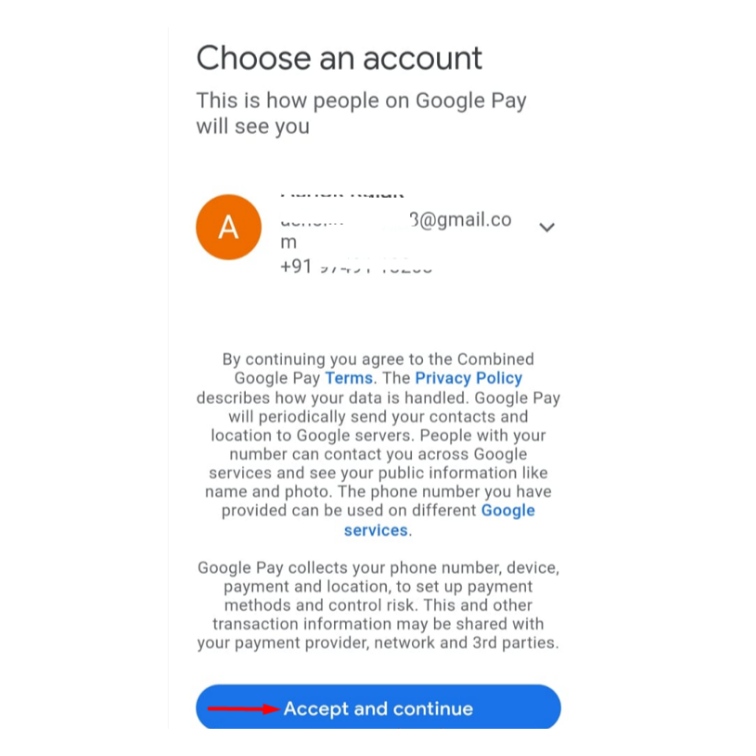
Step 3: Sign In Using Your Google Email Account
You have to use one Gmail account to sign in to create a Google Pay account. Select or enter a Gmail address and click Next.
Step 4: Verify Your Mobile Number
You will get an OTP (One Time Password). Now verify your mobile number with the OTP. Tap Next.
Step 5: Secure Your Google Pay Account
You can secure your Google Pay account with either of the two options: Choose any one from the options mentioned below.
- Create Phone Screen Lock: Protect Google Pay by turning on the phone screen lock. This way you can use your existing screen lock to secure Google Pay.
- Create Google Pin: If you don’t have a screen lock on your mobile or want to use a different PIN to secure Google Pay, you can create a 4-digit Google Pin and verify it.
Now click Continue. Enter your PIN again and verify it. Now you have successfully created a Google Pay account. The Google PIN you just created is different from any of your UPI PINs or the PIN that is used to unlock the phone.
How to Link Your Bank Account to Google Pay?
Step 1: Open the Google Pay app and tap on your profile Picture in the top right corner.
Step 2: Now, tap on add a bank account.
Step 3: Select the bank which you have an account with from the list of all the banks.
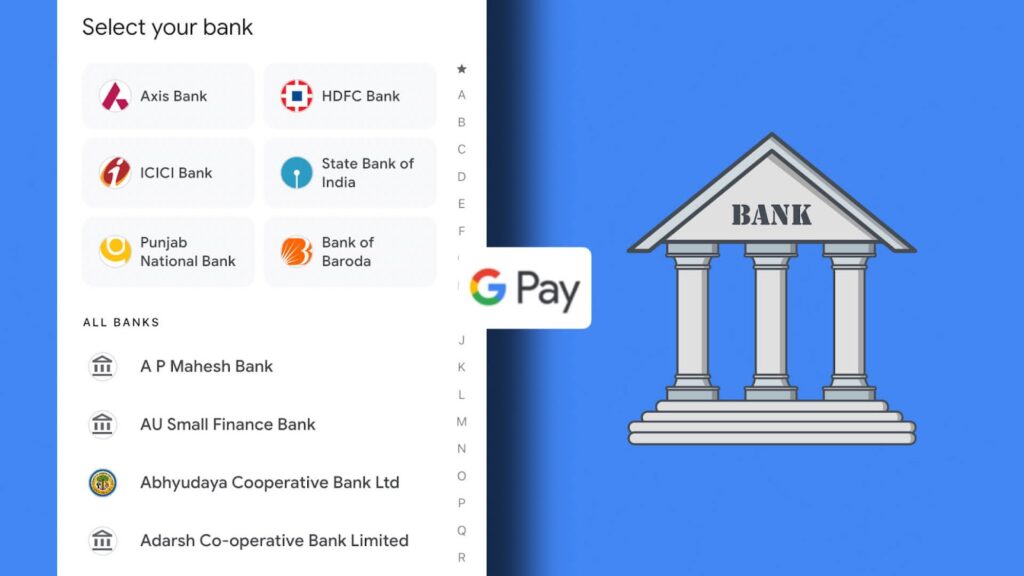
Remember to have your active debit card handy specific to the bank account you want to add to Google Pay. Mobile number or the SIM you are using which is registered with a bank account and Google Pay is the same.
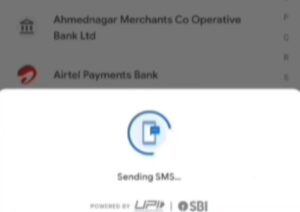
Step 4: If you have a dual SIM mobile, then upon selecting your bank, you will be asked to select the SIM slot for the registered mobile number.
Now, an SMS will be sent from your registered mobile number to the bank for verification. Make sure you are able to send and receive SMS and check your balance and network connectivity. Ensure that the app is up to date while adding the bank account.
Step 5: If you have two accounts with the same bank, choose the bank account you would like to link to Google Pay. Click Continue. You will now be taken to the account verification page.
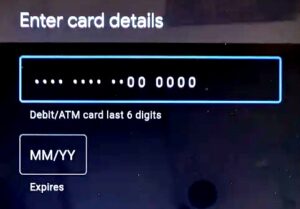
Step 6: Enter your debit card details. Now follow the onscreen instructions and enter the last 6 digits & expiry of your debit card. You will now proceed to create your UPI PIN.
Step 7: Click Create PIN. Create a UPI PIN and enter OTP. Upon successful OTP verification, your bank account will be successfully added as a payment method to Google Pay.
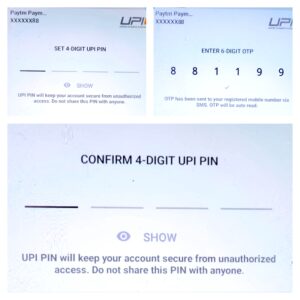
You will need to enter this UPI PIN while performing any transactions hereafter. Do not share this PIN with anyone and keep it confidential.
While doing payments you have to make sure that you’re sending money to the right person. Cross-check the person’s UPI id or contact number or try to see if the name is correct as given to us. We need to check these small but very important things while making UPI payments.
Write with us✍?
Greetings to Everyone from TeamUgtWorld! Anybody who wants to write whatever his/her Heart wants to. They can now publish their content with us on our platform @Ugtworld. For more information click on the following link…


