
What is JDBC?
JDBC stands for Java Database Connectivity. JDBC provides the APIs for the Java programming language using which we can connect to the database. It is part of the Java Standard Edition platform, from Oracle Corporation.
In this blog, we will connect to the MySQL Database and check how we can access the table’s data.
To connect to the mysql database we will require a mysql jar added to our project.
Let’s create a Java project step by step and add a jar to the project.
- Creating a simple Java project
Go to File → New → Java Project as shown below.
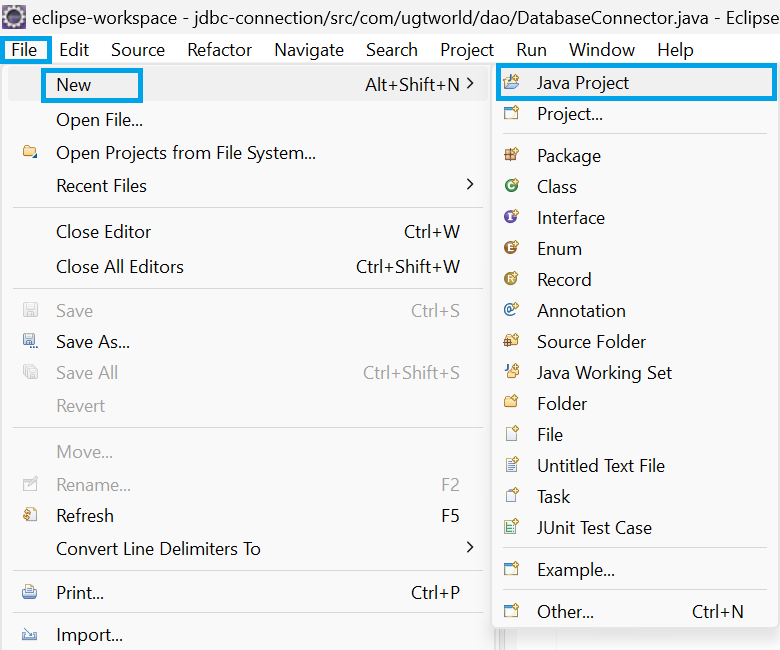
If the Java project option is not available as shown in the above image, we can select File → New → Other and then search for Java Project.
We will get the following window after selecting Java Project. Give the name of the project as shown below. We can choose the Java version for any. To add a project created in the current eclipse workspace select the option ‘Add project to working sets’.
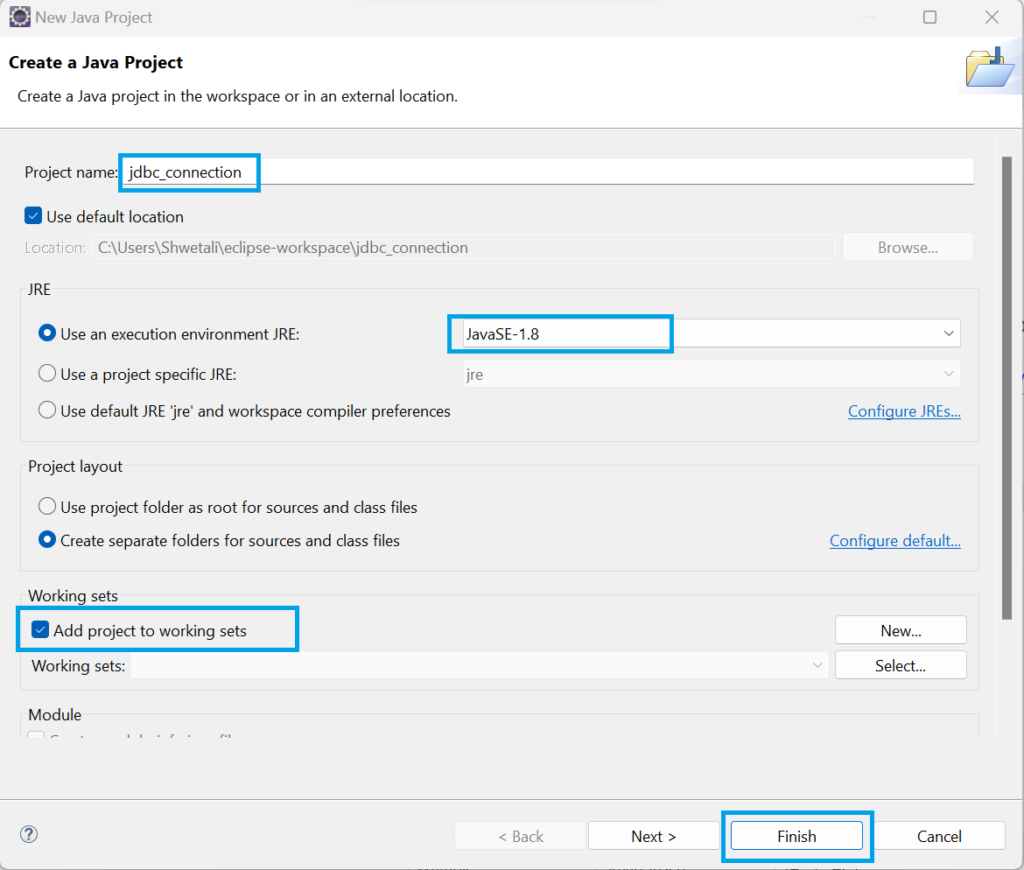
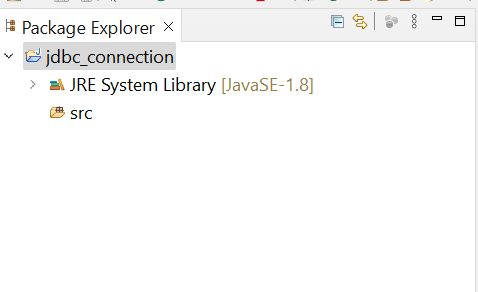
Once everything is selected as shown in the below image click on the Finish button. Java project will be created and we will able to see the project in the Eclipse ‘Package Explorer’ tab as shown below.
- Adding MySQL-Connector-java jar
To connect to the MySQL database we need to add MySQL-connector-java jar in our project. Download the jar from here…
If the above jar is not added then we will get the following exception at runtime.

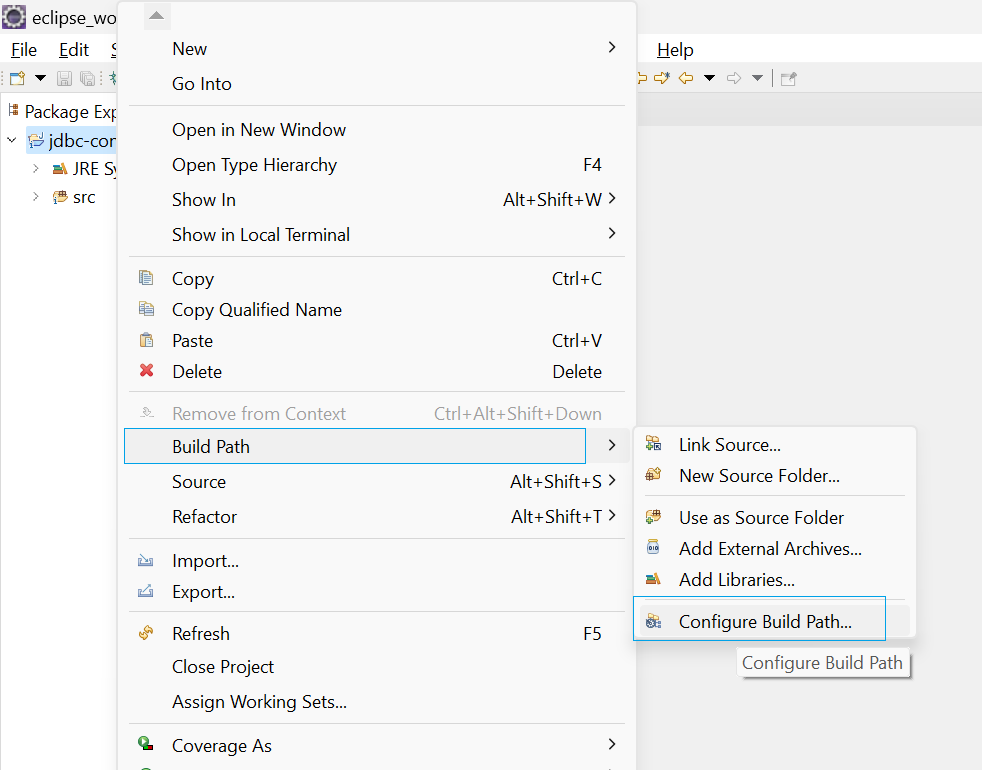
To add the mysql-connector-java jar right click on the project and then select Build path → Configure Build Path… option as shown in the image below.
We will get the following window. Go to Libraries and then select Add External JARs… option as shown in the image. Select the jar from the path where the above jar is saved and then click on the ‘Apply and Close’ button.

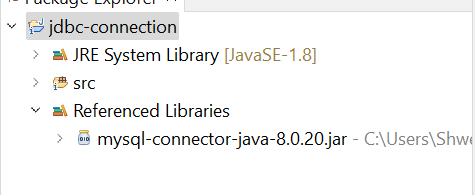
Once the jar is added successfully we can see it under the Referenced Libraries section as shown in the image below.
- Creating database connector class.
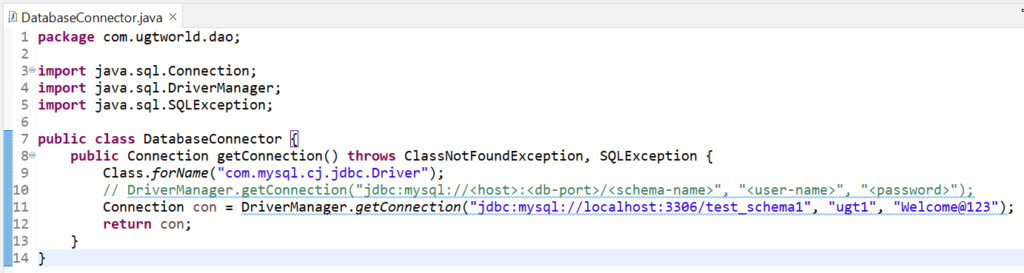
To connect to the database from Java, create the connector class as below, which will get the connection from the Driver Manager and return the connection to the calling method.
The code for the below connector class can be copied from here…
- Main class Connecting to the database and reading a value from the table.
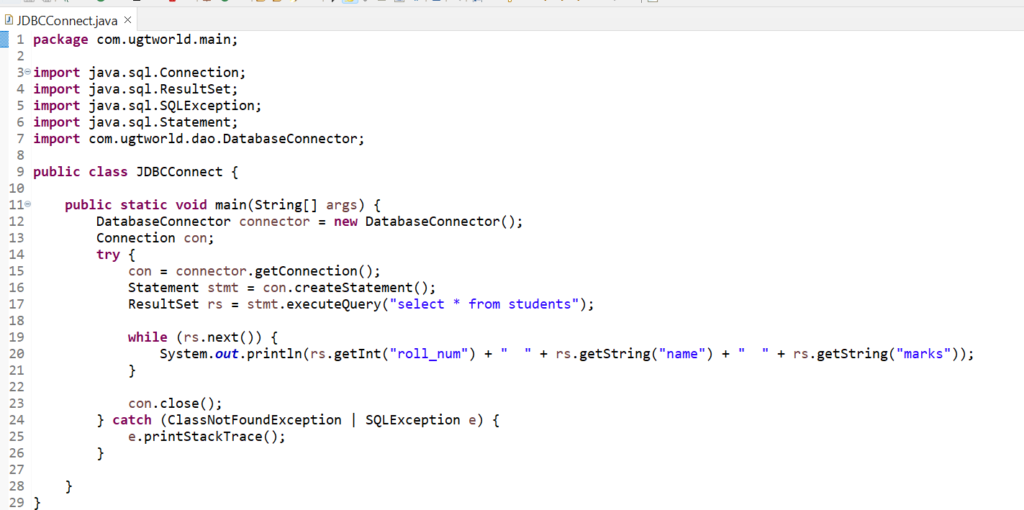
Once the connector class is created we will write a main method that will get the connection from the Connector’s class getConenction() method and will read the values from the table as shown below.
The code for the below main class can be copied from here…
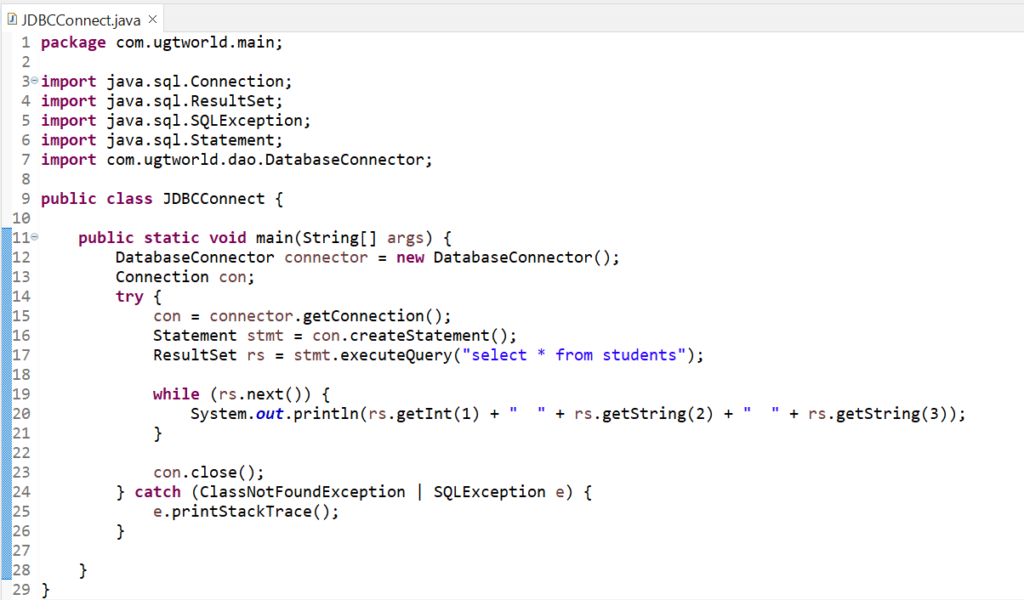
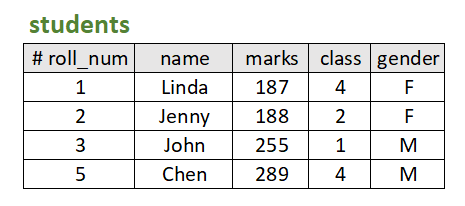
- We are reading from the students’ table in the above example.
- Once we get the connection from the connector class, we will create a statement using the connection object as shown in the above example.
- To execute and get the results from the database we have the executeQuery method of the Statement class, which will return ResultSet.
- rs.next() method moves the cursor forward one row from its current position and will return a boolean value if the row is present.
- Note that at starting the pointer will not point to any row, hence it is important to use rs.next() method before reading the rows.
- We can read the columns with column names or with column positions, in the above example we are reading the columns with the position, hence we will get the details for columns 1, 2, and 3 from the table.
Output for the above code will be as below:
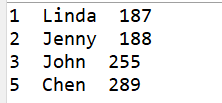
Table data in the database is as below:
Instead of column number, we can read by using the column name as below.
To get the project we can refer to jdbc-connection.